

Using Photo Galleries in Your Blog
Photo Gallery is an optional tool you can use in your blogs.
When adding two or more photos in a row to your blog, the optional photo galleries can help organize how they appear on your page. It takes a little getting used to, but it is an extremely useful tool for blog readability and aesthetics.
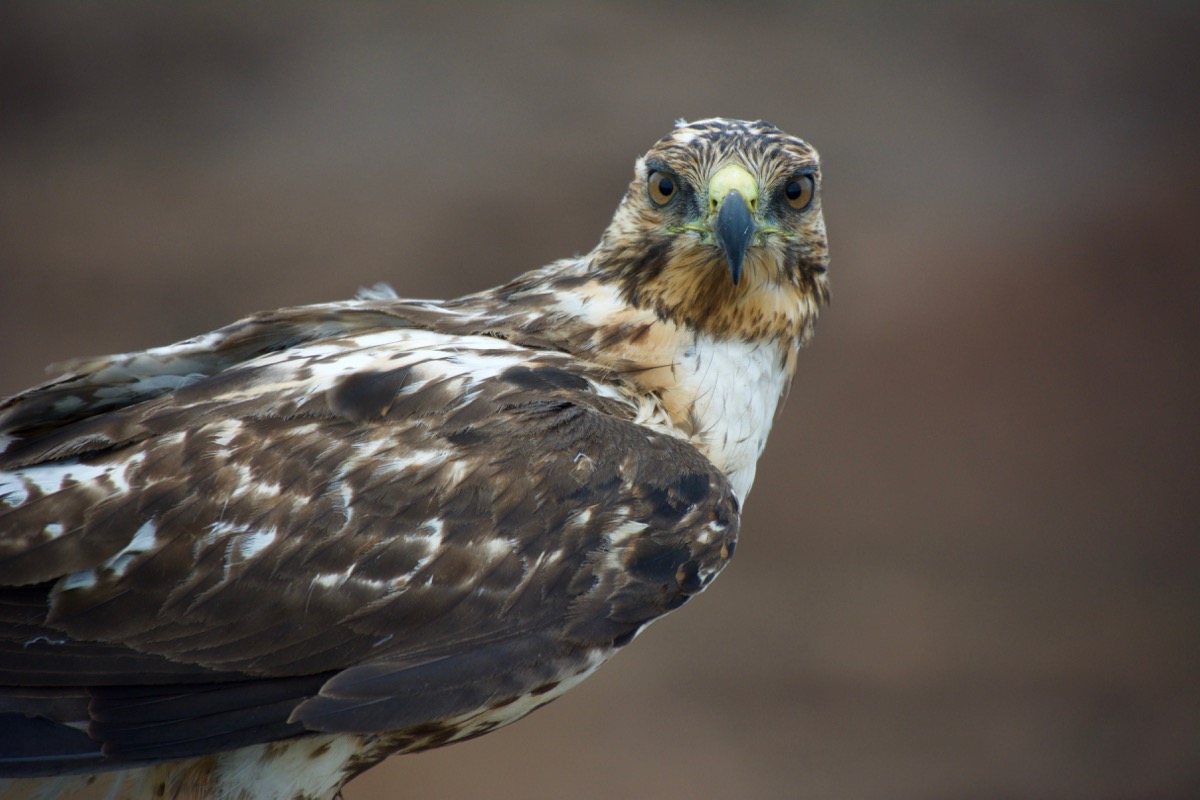
Following is an example of a photo gallery using 3 photos in a row.
-
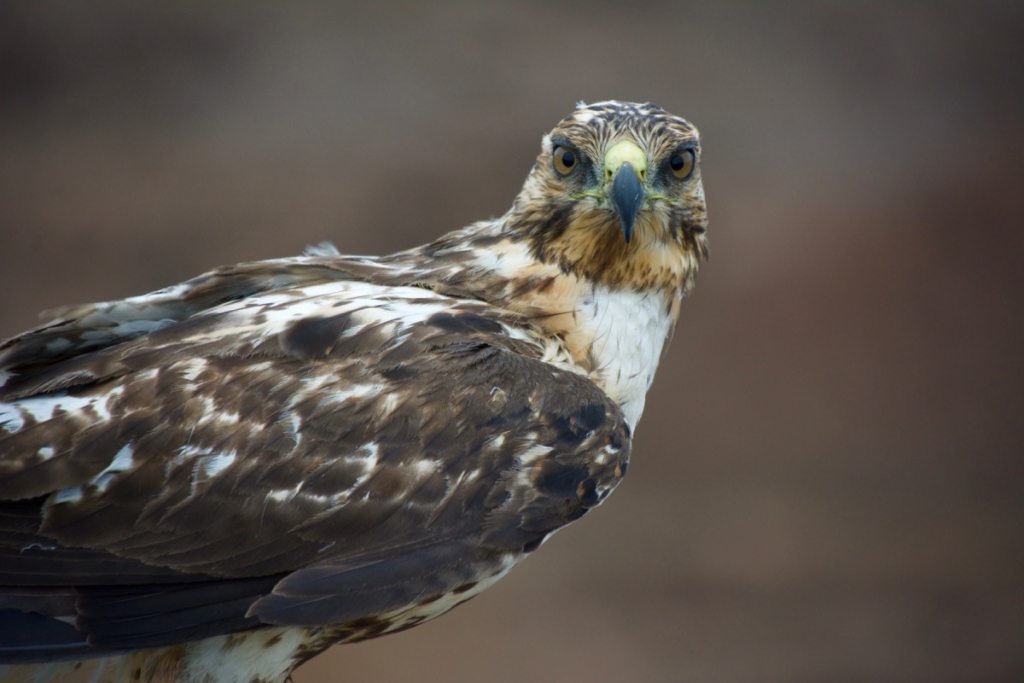
- Galápagos Hawk on Bartolomé Island
-

- Galápagos Tortoises by Urbina Bay on Isabela Island

-
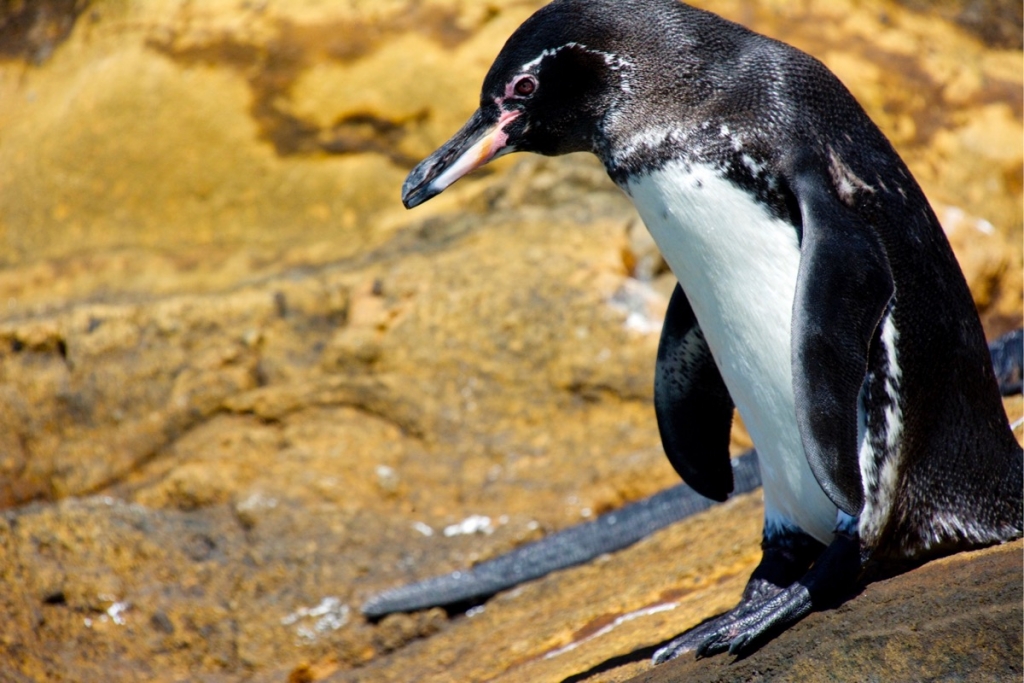
- Galápagos Penguin on Punta Vicente Roca

Below are the steps for adding your photos to your post using photo galleries:
- Choose a position in your blog post that you would like the Gallery to appear.
- Click on the [Add Media] Button
- When the window opens, select the [Create Gallery] option.
- Select files to upload, or pick photos you already have in the Media Library
- After you upload or select your photos, they will appear with check marks in the Media Library
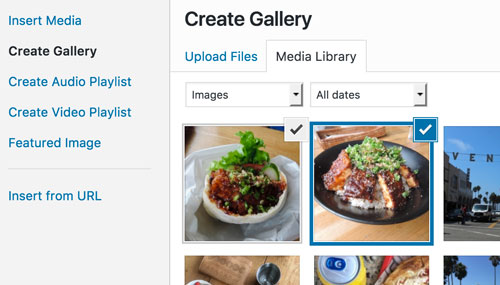
Select Photos Window
- On the right side of each photo you select, you will see dialog box where you can add in each photo’s Title, Caption, and Alt Text Tags (the Caption is used if you would like your blog readers to see text about your photos).
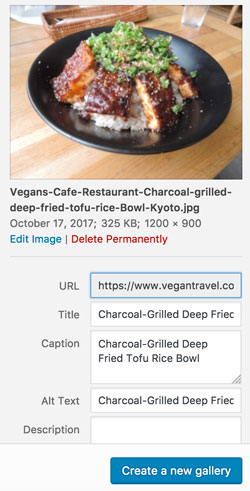
Photo Tags options
- After you add the Title, Caption, & Alt Text for each photo, you can click on the [Create a new gallery] button on the lower right and it will then open the Edit Gallery screen
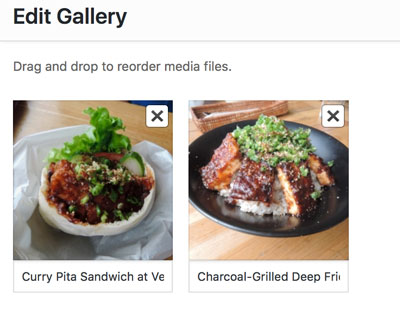
Edit Gallery Window
- On the Edit Gallery screen, you can drag the photos to change the order on how they appear in your blog. And you can also edit or add the Captions just below each photo.
- On the right side of the same Edit Gallery screen, you choose the Gallery Settings
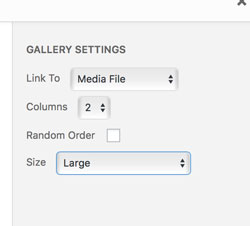
Gallery Settings
- Choose how many Columns you want for your Gallery (2 photos across the row, 3 photos across, etc.). For example; if you want to have a Gallery of 6 photos and you select 2 Columns, your 6 photos will show up 2 per row, on 3 rows. If on the other hand, you select 3 Columns for the same 6 photos, your photos will show on 2 rows, with 3 photos per row. For symmetry and aesthetics, we recommend keeping portrait or landscape photos on the same rows.
- You are most welcome to play around with the other two settings (Link to and Size). Our favorite settings have been (Link to Media File, and Size Large or Medium).
- When you are satisfied with your settings, just click the [Insert Gallery] button, on the lower right of that same screen.
- You will then be back in the Blog Post editing page, and your Gallery will appear something like the following:
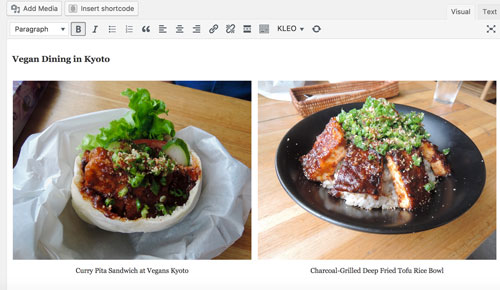
Example of how Gallery photos will appear in your post.
- Lastly, once your Gallery is in your post, you can click the Preview button (top right) to see how the gallery looks in your blog. If needed, it is easy to edit the Gallery settings by clicking on the photo and selecting the Edit button (Pencil image).
Photo Gallery Examples:
Following is an example of a photo gallery using 3 photos with the following settings: Link To = Media File | Columns = 3 | Size = Large
-

- Midori Tantan at T’s Tantan in Tokyo Station

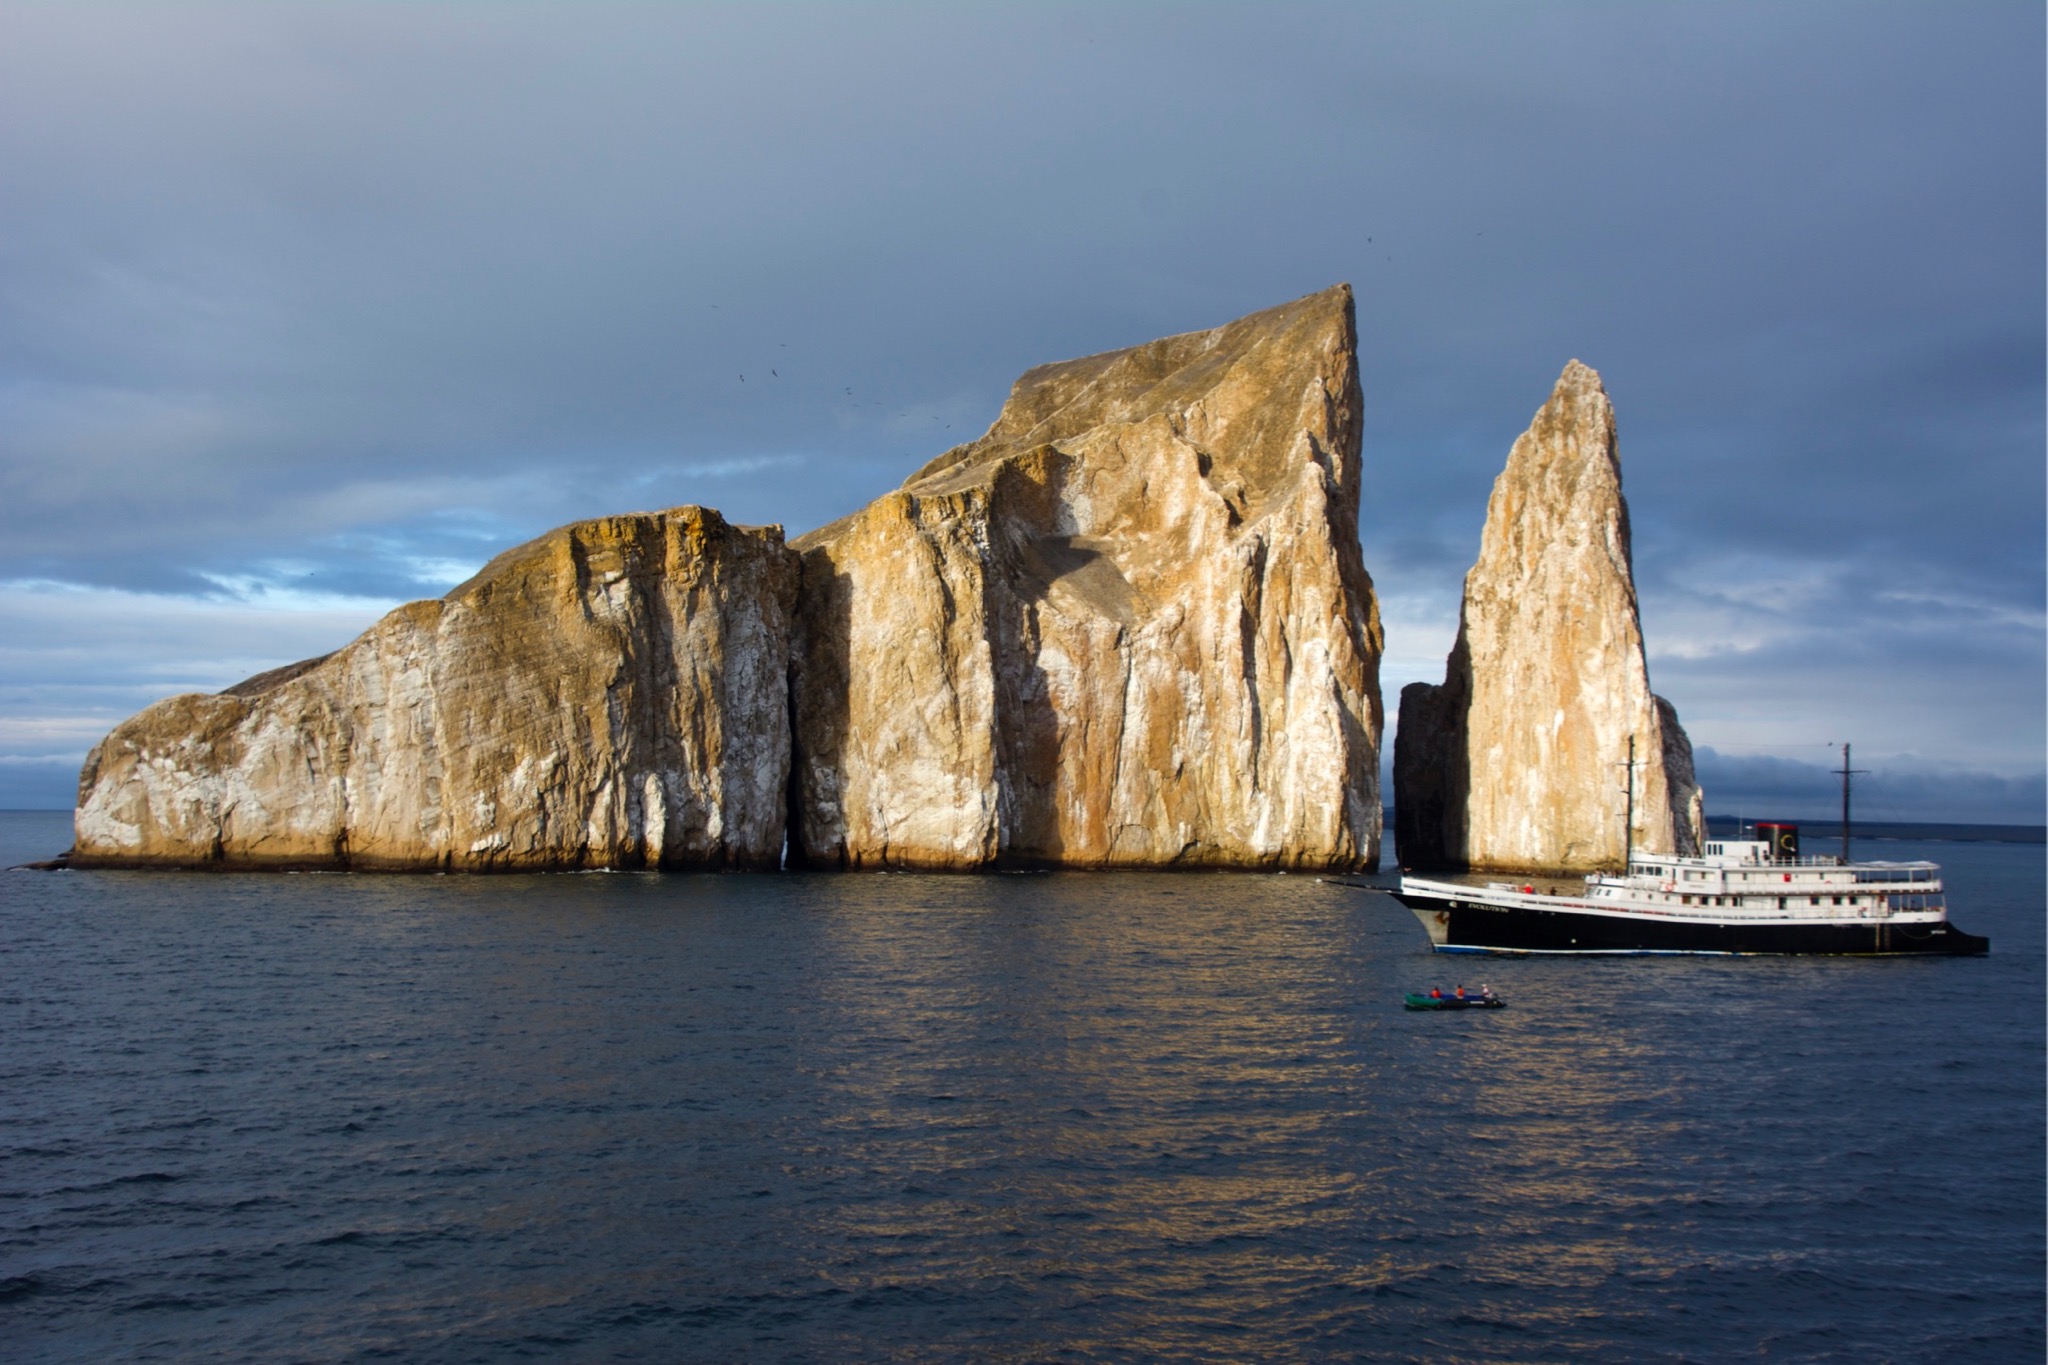
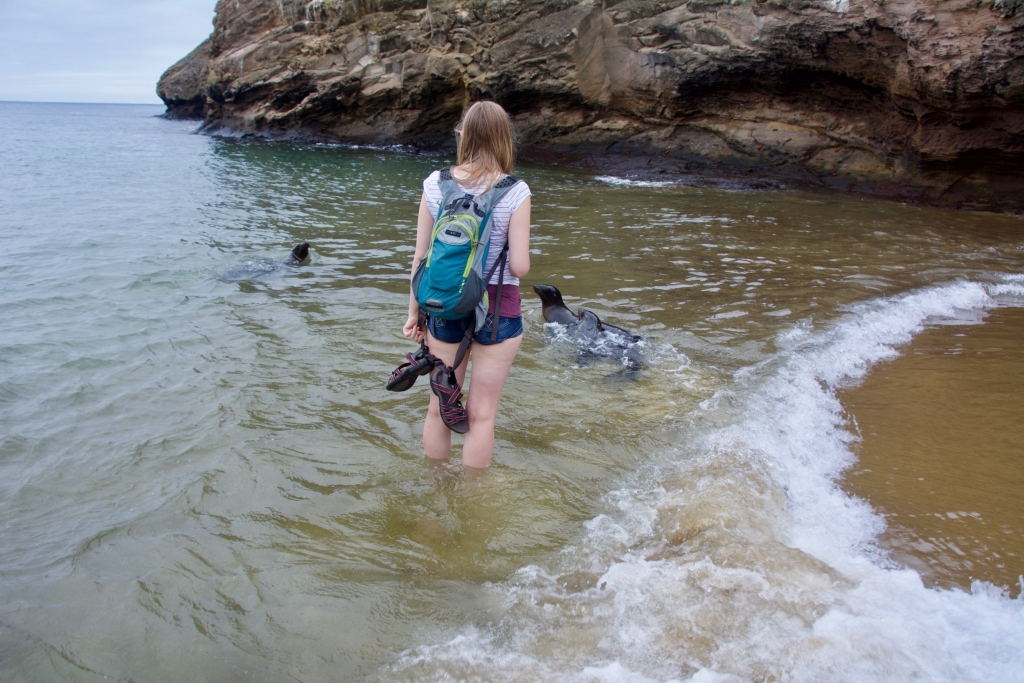
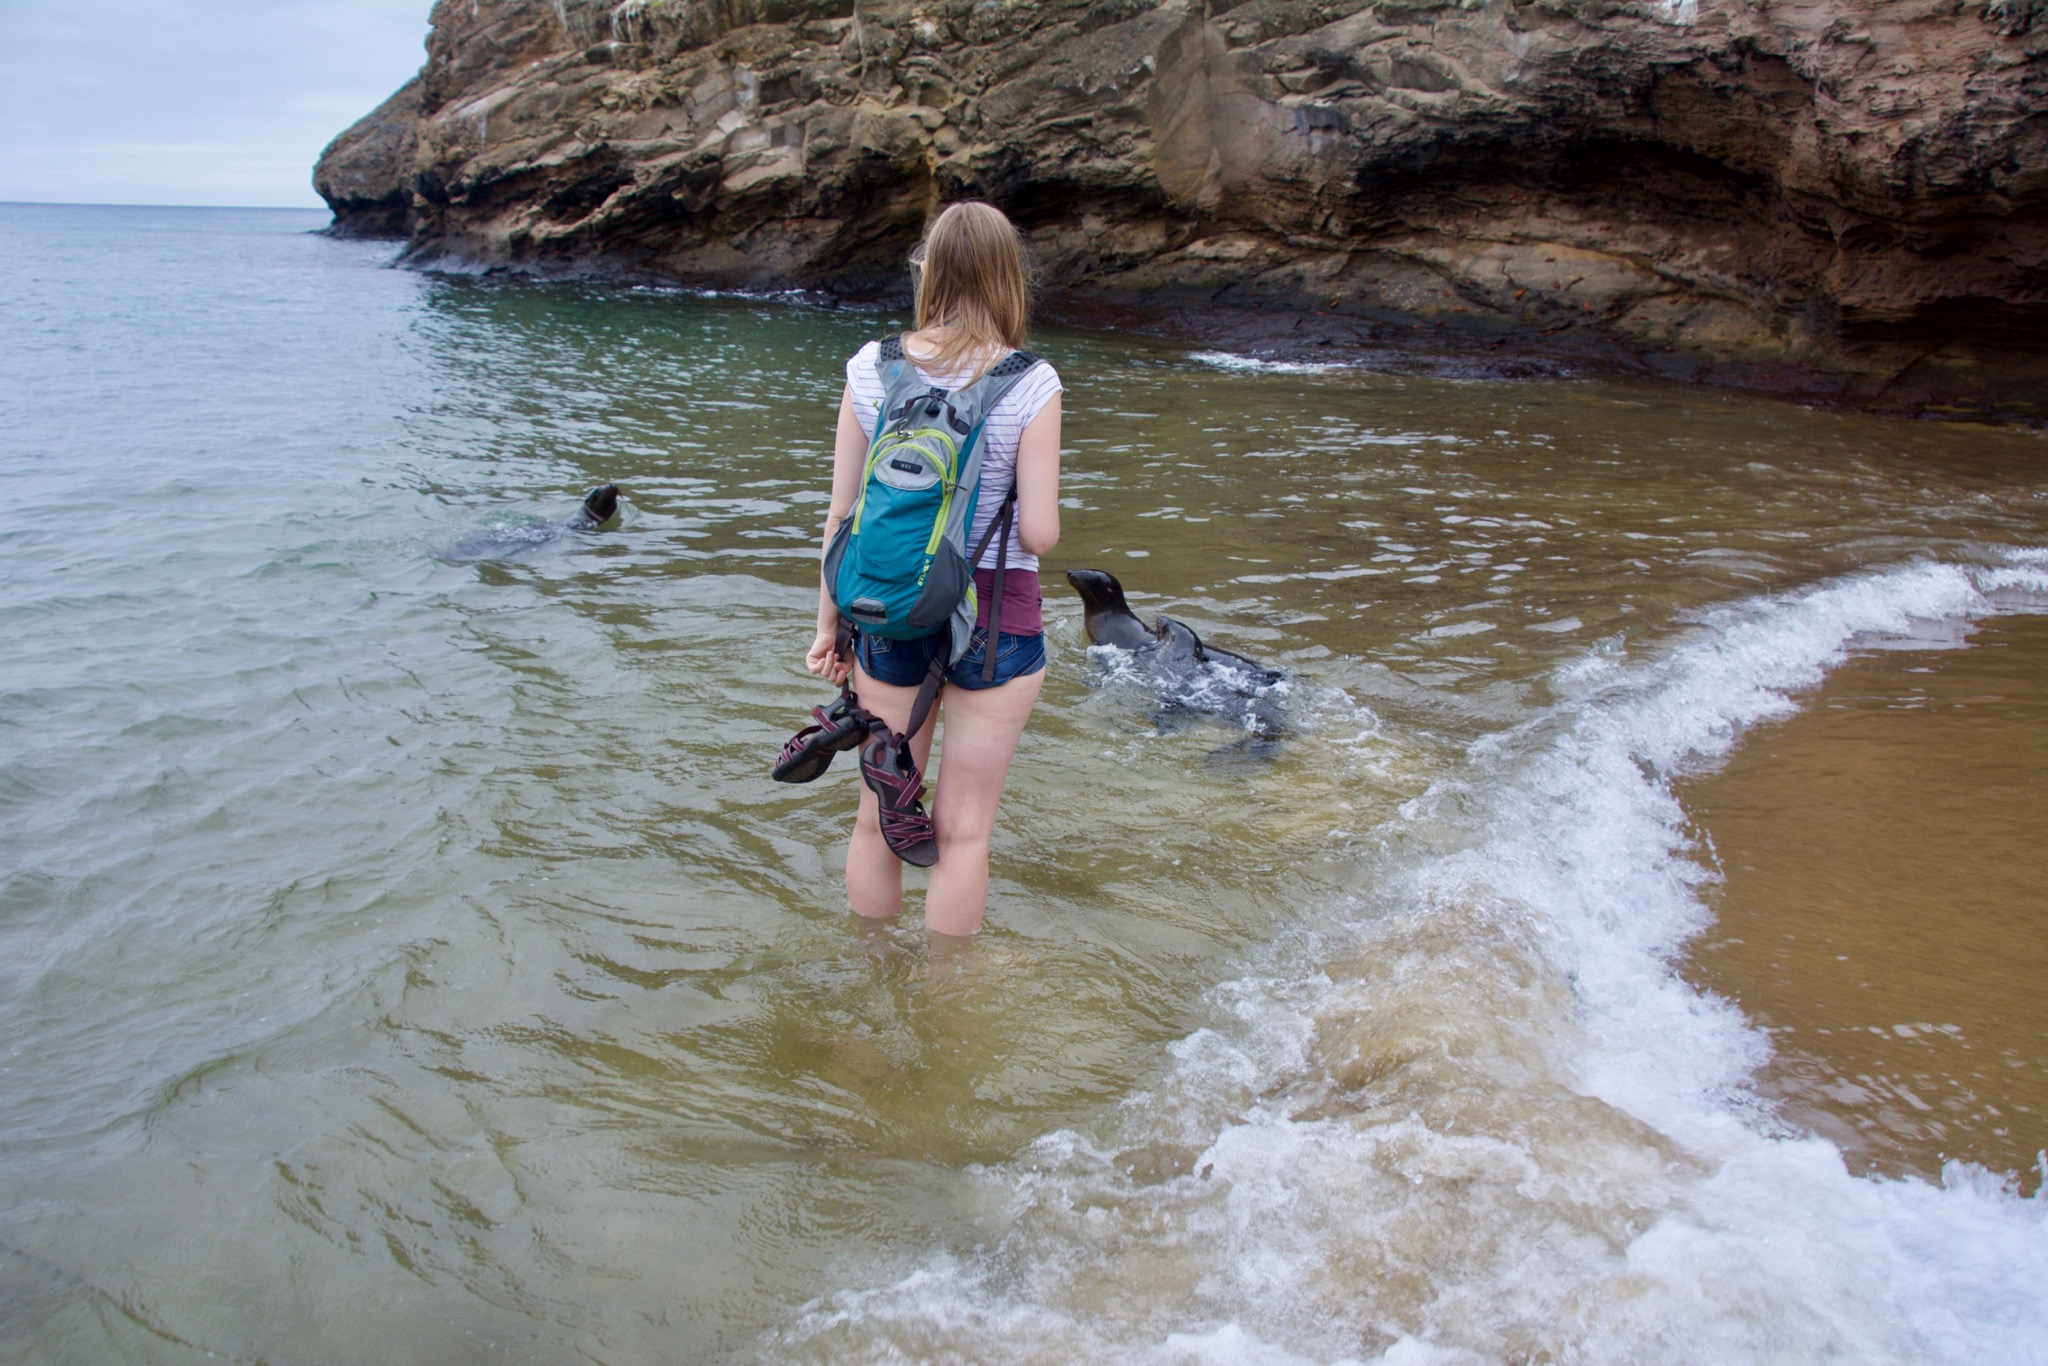
Following is an example of a photo gallery using 4 photos with the following settings: Link To = Media File | Columns = 4 | Size = Large
-

- León Dormido, Galápagos
-
- Galapagos Punta Pitt, San Cristóbal
-

- Galápagos Land Iguana on Santiago Island

-

- Seals on on Punta Espinoza
Please note that the each caption displays when you mouse over each photo, and the photos expand to their full size when you click on them.
The steps for creating Photo Galleries are fairly straightforward, but if you have any questions, please feel free to ask – we are more than happy to help.